


1911 Muzzle Brake Install & Removal
Team Valkyrie has put together a Version 2.0 1911 Muzzle Brake Install & Removal!
NOW including how to use our NEW 1911 Muzzle Brake Removal Tool!
To purchase one of our 1911 Muzzle Brakes please visit our site!
www.VALKYRIEDYNAMICS.com
** Our Spring Plug is NOT included for free**
Our Spring Plug and Removal Tool for all of our Muzzle Brakes & Compensators are available as add on's to our products.
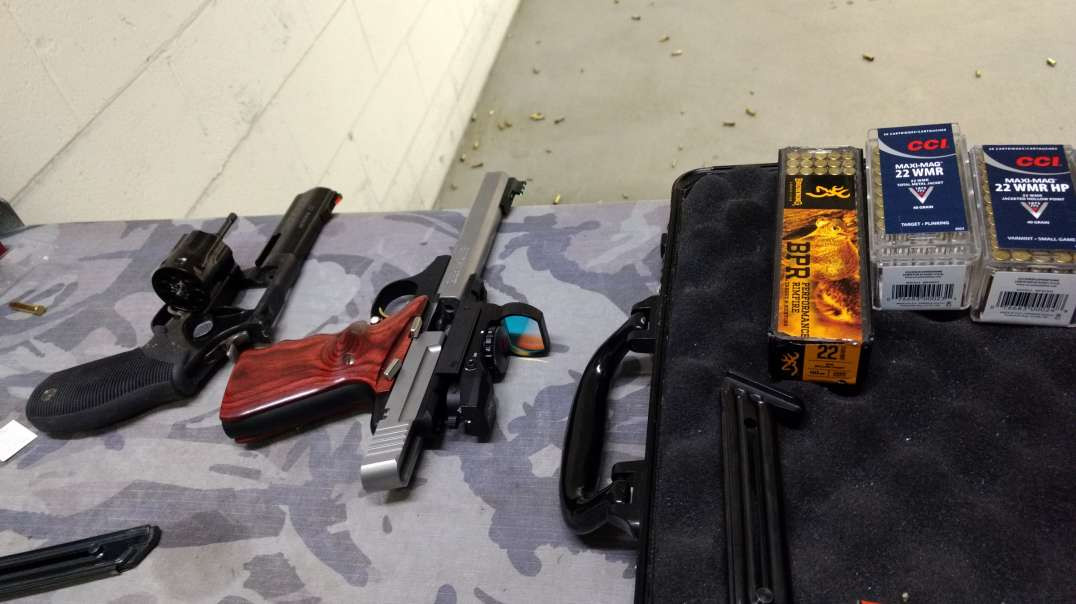
Spring Plugs come free with all 1911 COMBO orders. Spring plugs and removal tools are offered at half price as add on items on all of our muzzle brake listings.
Link Below
https://www.valkyriedynamics.c....om/collections/1911-
You DO NOT need our Removal Tool to install and remove our muzzle brakes but it is recommended
It is specifically designed to ease the process of installing and removing our muzzle brakes.
------DISCLAIMER------
It is YOUR responsibility to be absolutely certain that all parts are installed and fitted correctly.
Firearms are complicated mechanisms and improper installation and/or fitment may result in dangerous malfunctioning, damage to the firearm and serious injury to the shooter and other persons.
The purchaser/installer of parts must accept full responsibility for the correct adjustments and functioning of the firearm after such installation.
The purchaser takes full responsibility for any misuse, abuse, neglect, modification(s), improper installation, improper use, or improper handling.
FULL TYPED OUT INSRUCTIONS BELOW
Start with the barrel and guide rod installed in the slide
Insert spring and then insert spring cap.
Depress the spring cap with thumb. With spring cap depressed, insert compensator and twist into place.
Removal:
*PLEASE DO NOT ATTEMPT TO REMOVE THE COMPENSATOR WITH A VICE, RUBBER HAMMER etc. If you are having difficulty removing the muzzle brake please do not panic. Please follow these instructions and if you are still having trouble contact us here
Always start with your firearm unloaded and safe. Hold your firearm in a secure position with the barrel facing up and the sights facing away from you.
Insert the back side of the removal tool (side with the hole milled) into the guide rod/ spring plug hole, (0.399-inch hole)
Depress the tool about 1/8 inch and rotate compensator about 15 degrees counter clockwise.
Insert thin side of removal tool depressing the edge of the spring cap about 0.25 inches while rotating compensator to 4 0'clock position. At this point the compensator can be removed.
Caution!!! The spring cap is under tension and may be ejected causing facial/eye injury.
If you are still having trouble removing the compensator make sure you are depressing the spring plug all the way down to clear the locking lug. You can use a slim tool like a thin file to grab the edge of the spring cap if you do not have our removal tool. Sometimes, if you are not depressing the spring plug far enough, you can get hung up on the locking lug which would make removal difficult
What are the most common fitment issues I may encounter when installing an after market compensator?
Some buyers may find that they need to modify the locking lug on the compensator if the fit is too tight. If you are comfortable making modifications yourself you can usually do so with either a dremel or fine grit sandpaper. If not we recommend consulting a gunsmith.
If your stock spring plug is longer than 1.2" it will most likely not depress down far enough to install the compensator. In that case we recommend that you use a Valkyrie Dynamics spring plug, Commander spring plug, or shorten your stock spring plug.