


Beretta / Umarex M9 22LR Magazine Conversion - 92 Series Pistols
LIKE / SHARE / FAVE!
Support our YouTube Channel: http://www.Taylor-Tactical-Supply.com
Heat Gun Link: http://amzn.to/29FG8P4
More detailed pictures and instructions can be found here: http://nictaylor00.blogspot.co....m/2016/07/beretta-m9
M9-22 Review: https://youtu.be/Q0jgZWWOtsE
Add me to your Google+ Circles:https://plus.google.com/+nictaylor00/posts
Please join me on Facebook for additional pictures:
FaceBook - https://www.facebook.com/NicTaylor00
Twitter - https://twitter.com/nictaylor00
I recently acquired a Beretta M9-22lr pistol. This pistol is a Umarex replica of the 92FS / M9 handguns found in the US Military. I shoot a 92F in 9mm on a pretty regular basis and when this pistol came out I was very excited to get may hands on one. To start with the gun actually feels and functions like the 92 series center-fire pistol I use. All the controls are the same as well as field stripping procedures. This is a no brainer for training with low cost 22 rim-fire and seamless transition back to my 9mm version. Below is a detailed review on the M9-22.
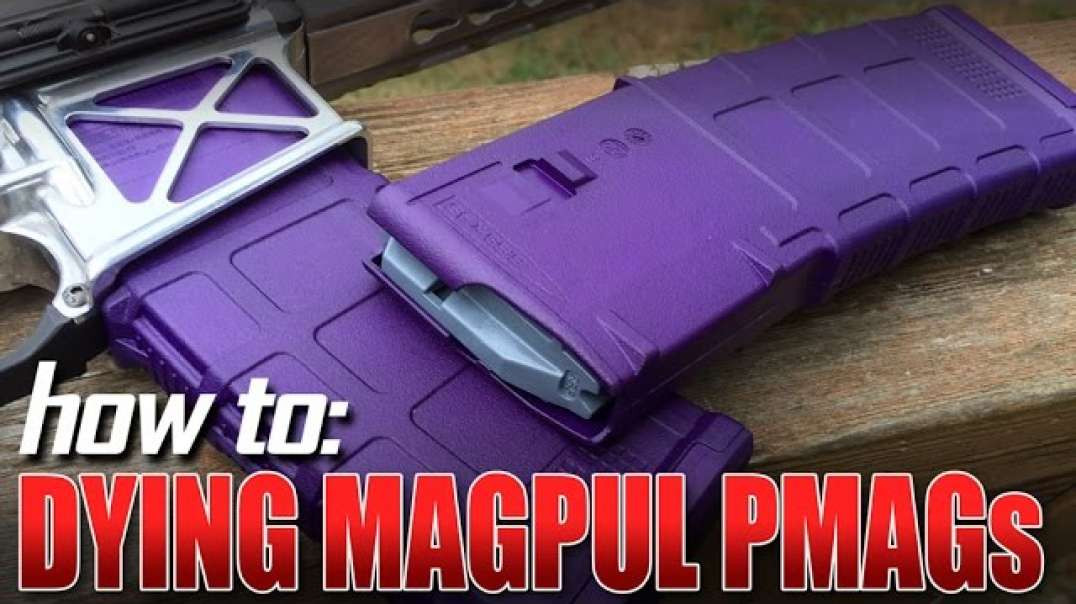
In addition, the M9-22 comes with 15 round magazines! This is very rare for a 22 caliber pistol to come from the factory with more than 10 round mags. There are many after market kits you can buy for various 22 pistols that allow additional rounds in your 22 magazines (YOU CAN FIND THEM HERE), but it is a nice change of pace to see the manufacturer provide these direct from the factory. However, in some states 15 bullets in your gun is more than the law will allow. So Beretta offers 10 round magazines for these oppressed states. If you have some Beretta factory 10 round magazines, chances are the basepad is glued together and not allowing disassembly. This can be a problem for cleaning dirty magazines. The steps below will help guide you to overcome the glue and disassemble your clip for cleaning.
STEP 1: USING A HEATGUN, APPLY HEAT TO THE PLASTIC BASEPAD. DO NOT GET THE GUN TOO CLOSE OR TOO HOT SO THAT IT MELTS/DEFORMS THE PLASTIC. YOU ONLY WANT TO HEAT THE BASEPAD ENOUGH TO LOOSEN THE GLUE AND ALLOW THE ROUND PIN IN THE MIDDLE OF THE BASEPAD TO BE DEPRESSED
STEP 2: ONCE THE GLUE IS HEATED AND BECOMES LOOSE, YOU SHOULD BE ABLE TO DEPRESS THE ROUND PIN TO WHERE THE TAB ON THE BACK OF THE BASEPAD WILL STICK UP
STEP 3: NOW YOU CAN SLIDE OFF THE BASEPAD TOWARDS THE FRONT OF THE MAGAZINE TUBE. TAKE CARE WITH THE SPRING AS TO NOT LET IT GET AWAY FROM YOU SINCE IT IS UNDER PRESSURE.
STEP 4: ONCE THE BASEPAD COMES OFF YOU CAN REMOVE THE SPRING AND SPRING RETAINER CONTAINING THE SPACER (THE ALUMINUM TUBE GLUED TO THE SPRING RETAINER). AT THIS POINT YOU CAN NOW EFFECTIVELY CLEAN YOUR MAGAZINE AND ITS COMPONENTS. IT WOULD ALSO BE HELPFUL TO SCRAPE OFF AS MUCH GLUE AS POSSIBLE WHILE YOU CAN.
STEP 5: IF YOU LIVE IN A STATE THAT DOES NOT HAVE MAGAZINE CAPACITY RESTRICTIONS, THIS IS WHERE YOU CAN REMOVE THE SPACER AND ALLOW AN ADDITIONAL 5 ROUNDS TO BE LOADED INTO THE MAGAZINE. WHILE THE GLUE IS STILL HOT, PLY OFF THE SPACER AND REASSEMBLE THE MAGAZINE WITHOUT THE SPACER. YOU SHOULD NOW BE ABLE TO FIT 15 CARTRIDGES IN THE MAGAZINE.
Music by TeknoAXE, "Cover Blown" http://youtu.be/Kjai-kvSvH4