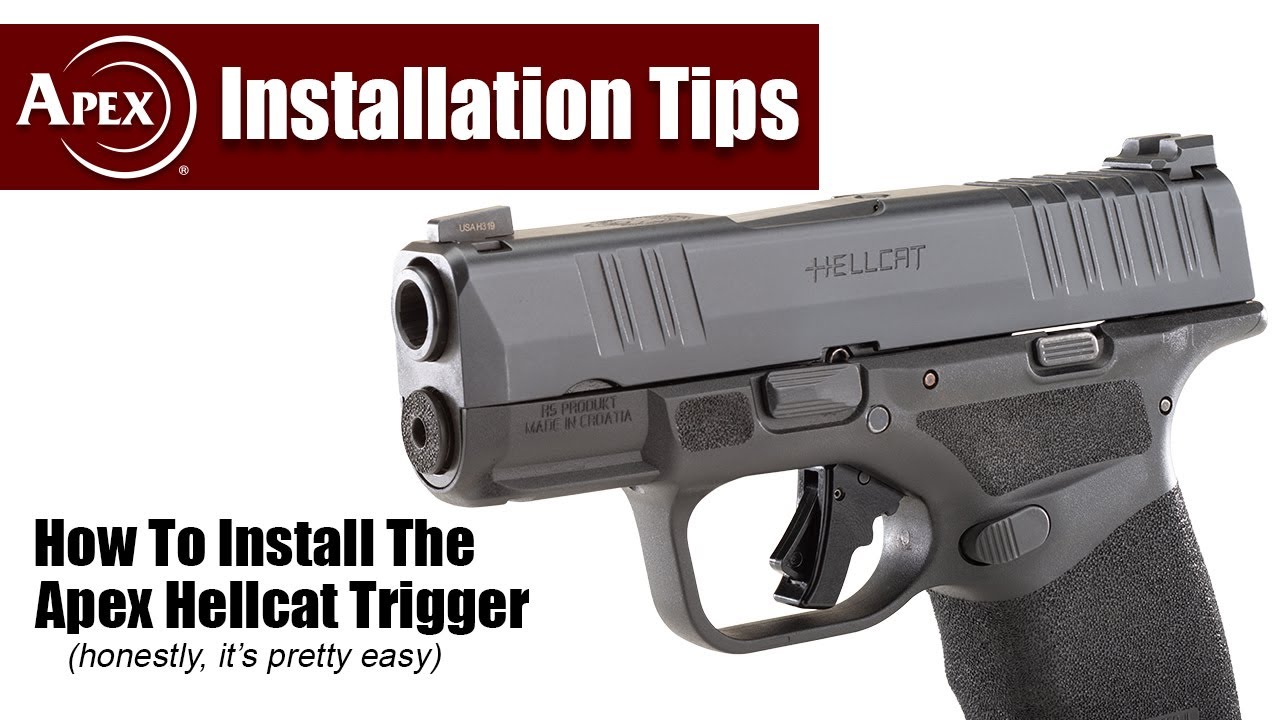
How To Install The Apex Action Trigger For The Springfield Hellcat
Apex's Scott Folk walks you through the proper way to install the Apex Action Enhancement Trigger for the Hellcat pistol from Springfield Armory.
Recommended Tools:
– 1/16" Pin Punch
– 3/32" Pin Punch
– Small 6oz to 8oz Hammer
– Smooth Jaw Vise
– A Roll of Tape (handy but not required)
– A Gun Grade Lubricant
Our Drop Testing - https://youtu.be/lTFDkwjpaG0
To Order: https://bit.ly/ApexHellcatTrigger
Timecodes
0:00 - Intro
0:34 - Tools
0:44 - Kit Contents
0:51 - Removing Pins
1:11 - Remove Internals
1:41 - Sear Housing Pin Safety ID
1:58 - Remove Trigger Bar from Sear Housing
2:13 - Sear Housing Disassembly
2:51 - Remove Trigger from Trigger Bar
3:18 - Stock Parts vs Apex Comparison
3:36 - Install Trigger Body onto Trigger Bar
6:06 - Trigger Body Function Check
6:28 - Sear Housing Reassembly
8:36 - Reinstalling Trigger Bar
10:22 - Installing Sear Housing Pin Safety
10:49 - Frame Reassembly
12:09 - Reinstalling Pins
13:51 - Reinstall Takedown Lever
14:37 - Function Check Frame
15:33 - Striker Spring Replacement
17:45 - Function Check Slide
18:15 - Lubrication
20:36 - Final Function Check
————————
SOCIAL LINKS
————————
FULL30: https://www.full30.com/channels/apextactical
INSTAGRAM: https://www.instagram.com/apextactical
FACEBOOK: https://www.facebook.com/apextactical
TWITTER: https://twitter.com/apextactical
GUNSTREAMER: https://gunstreamer.com/@ApexTactical
Customer Service Inquiries: [email protected]
© Apex Tactical Specialties


