FireMountainOutdoors
29 Mar 2018
DIY Battleworn Tutorial (Rattlecan Magic!!)
28
0
17263 Views
In General
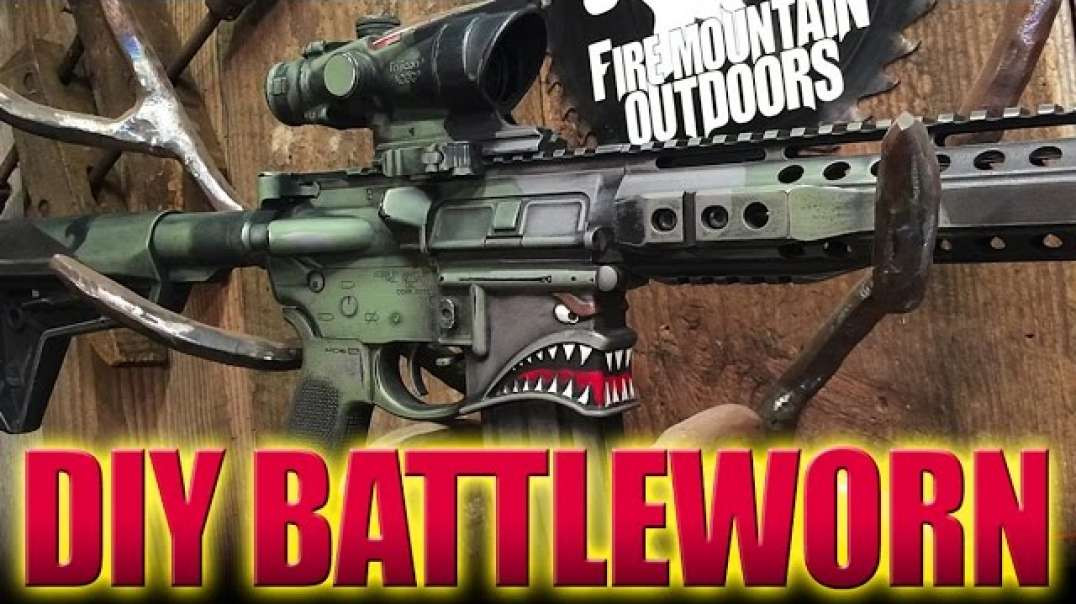
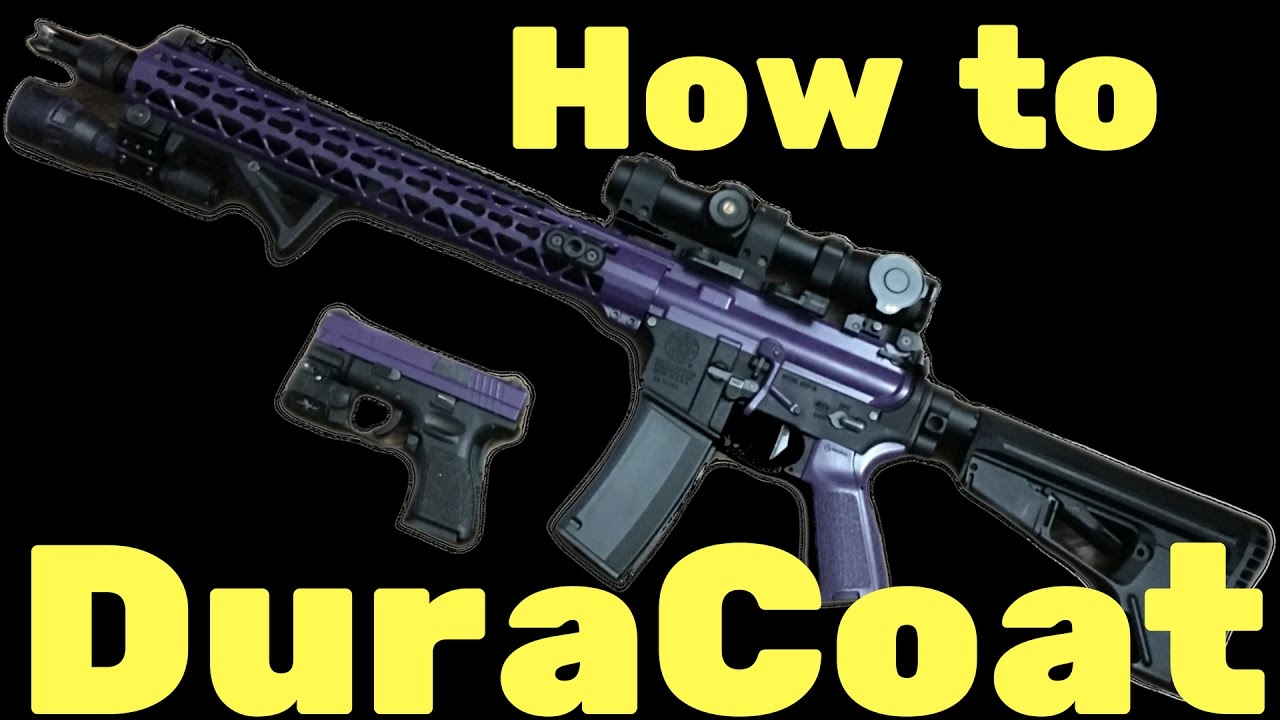
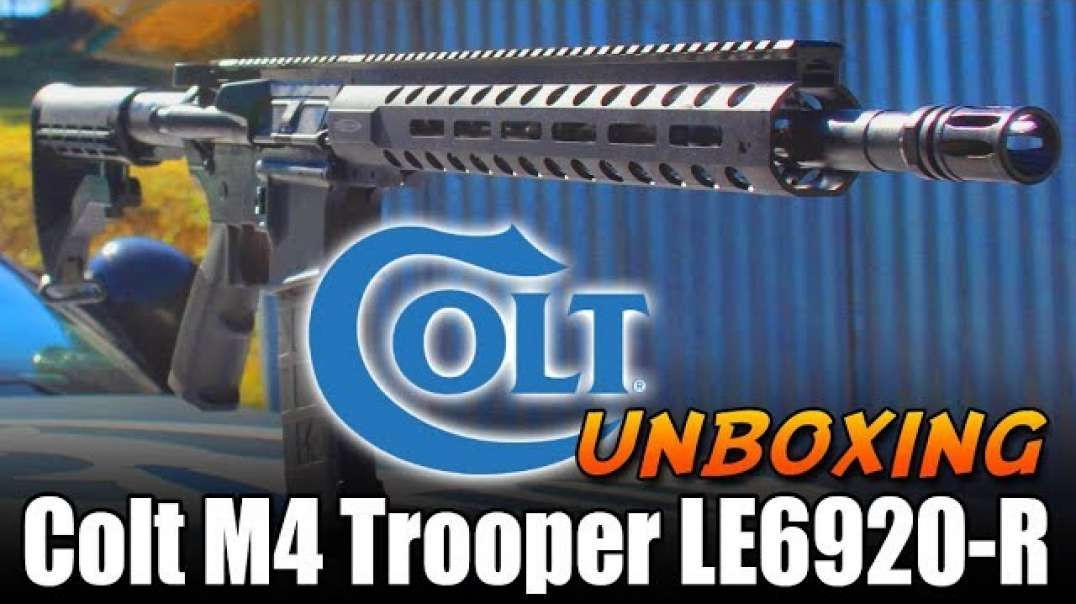
Hang out with Mark as he applies a DIY Battlerworn finish to one of his AR-15's using camouflage spray paint. Pick up some tips on what works and what doesn't, and how you can refinish your rifle in an attractive, functional finish for a minimal cost.
www.firemountainoutdoors.com
www.facebook.com/firemountainoutdoors
Show more












Cheap AND inexpensive? Damn!
Awesome work! Looks great! The only problem is that I tried something similar to see how it would look and it came completely off the first time I used gun cleaner on it. This is a great way to experiment but it's not a long term coating. Definitely a thumbs up for the instruction and the process!!!
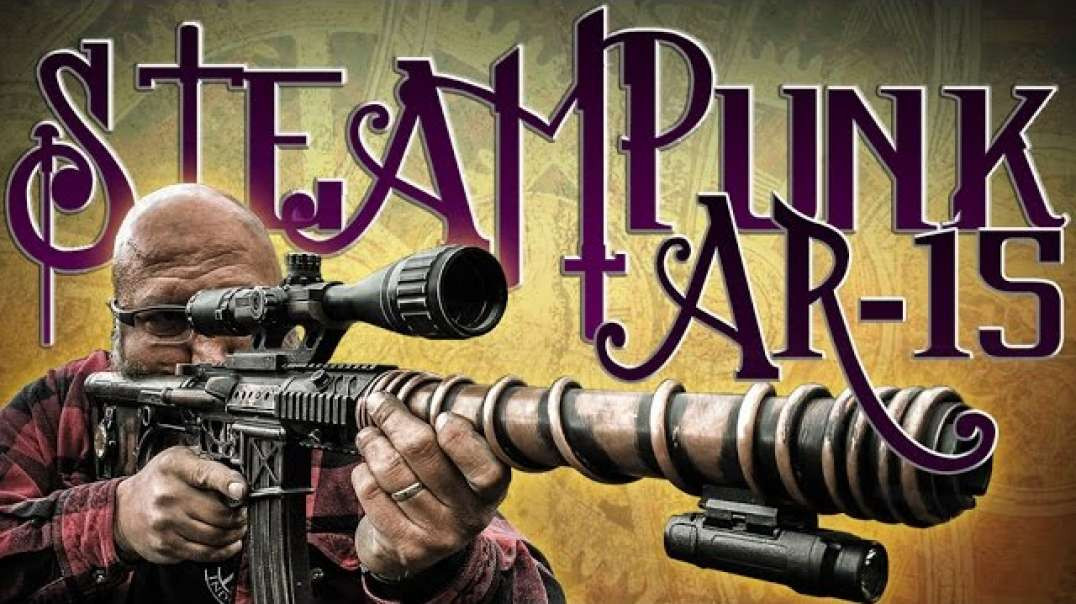
I love the way it turned out and the steam punk AR looks like it should be shooting lightning bolts!
just watched this video and I will try this on my next build
Again, these are the vids I like the best; when yous are in the shop doing finishes or reviewing parts and explaining function. Great job guys.
Absolutely awesome! The best battle worn I have seen. Each part you chose to do added to the overall product. Now I am not sure which one I like more...the streamlining rifle or this one. Keep up the good work!!
I like the paint work... makes a generic, ubiquitous black rifle into a unique looking firearm! Another benefit you didn't mention ... the functionality should not be at all affected. Win- Win!
Good job.