How to DuraCoat Your Gun - Tips & Tricks Spray Painting a Rifle
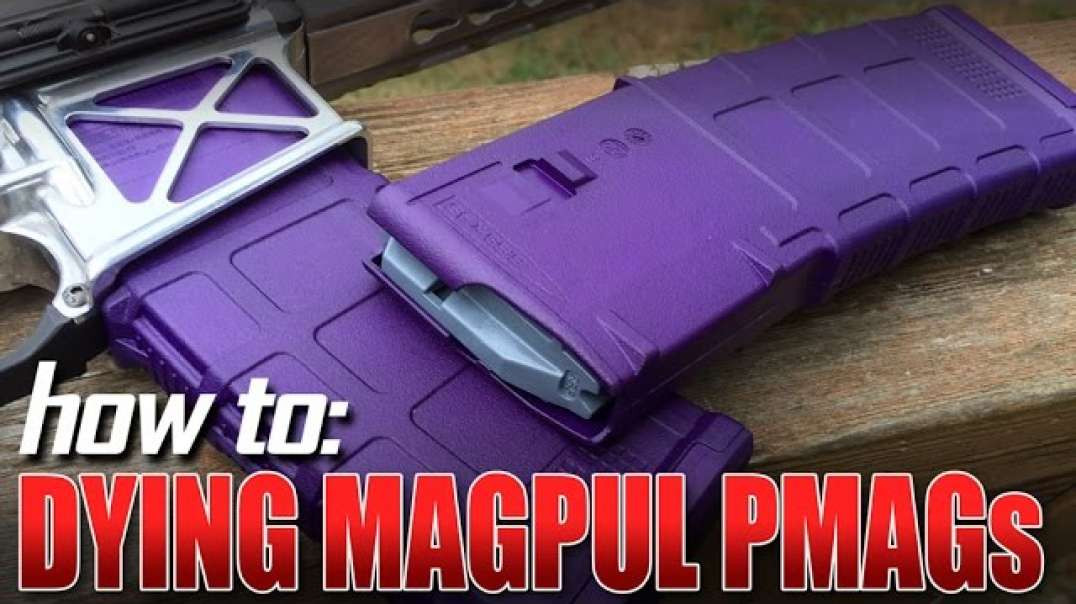
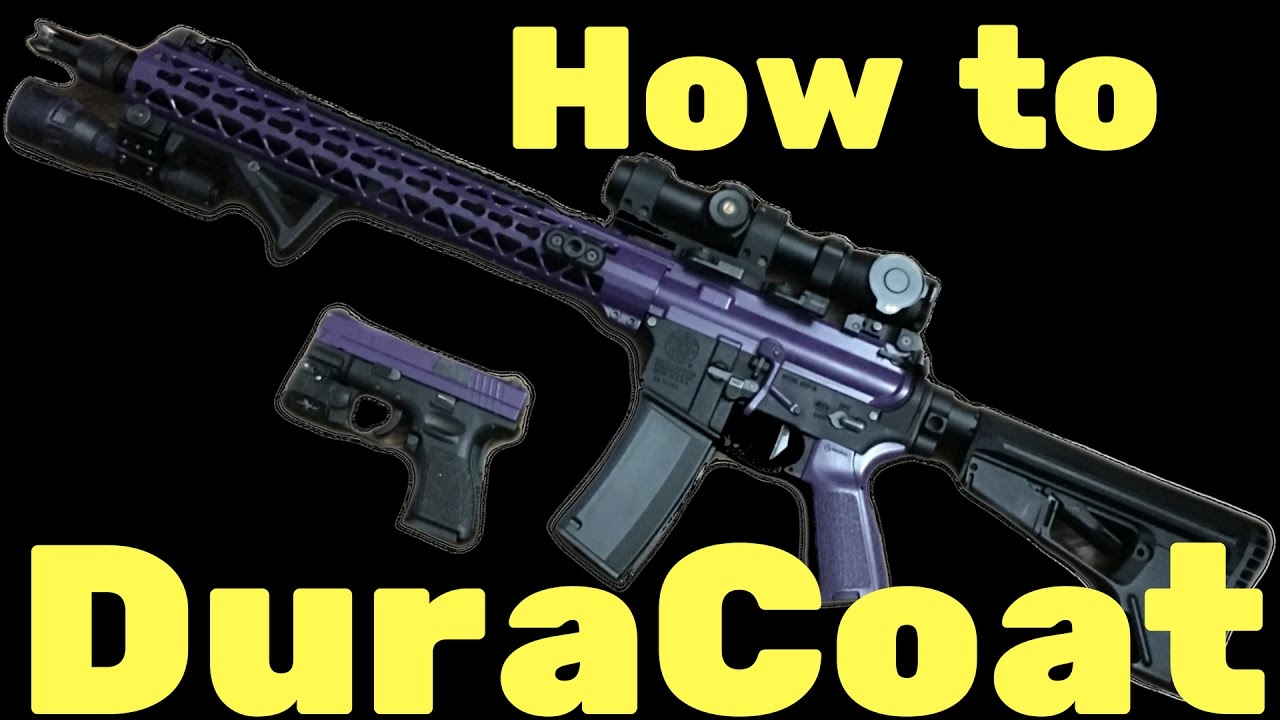
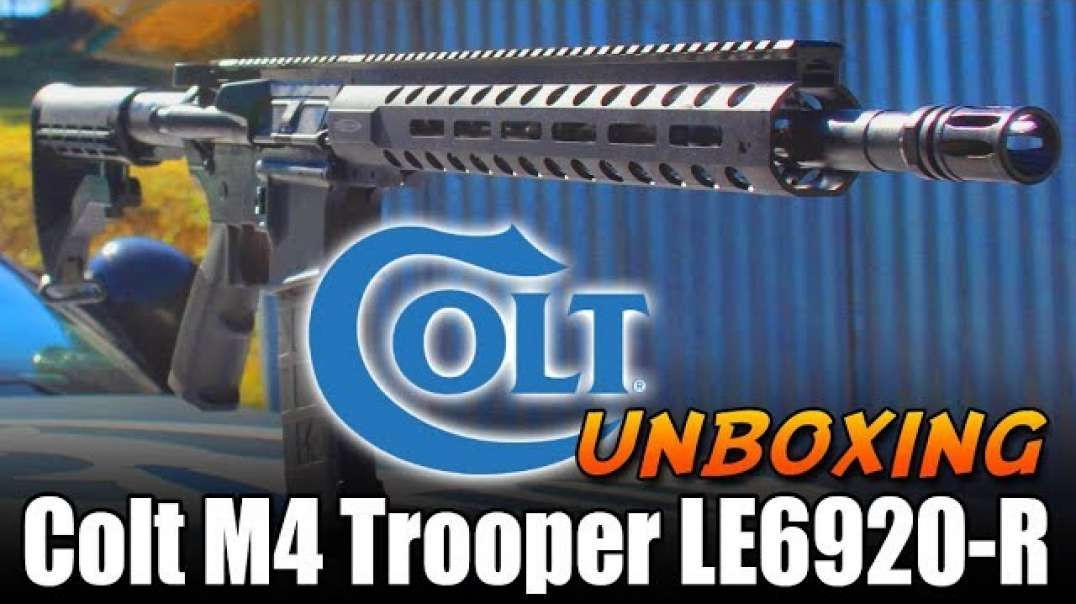
Jim wanted to touch up his AR15 "Katara" just a bit this weekend. She has already been wearing a coat of DuraCoat Goddess Purple for some time now and it has really aged and worn in well, but now that a new hand guard has been installed its time for some new paint.
If you've ever wondered how to paint, DuraCoat or (non-bake) CeraKote, this video is meant to serve as an overview and how to on just that topic. You can do this and its not hard. Take your time and you'll get great results.
Start with pristine prep work. Guns can be dirty, oily buggers. So make sure you start with a gun free of oil, grime, dirt and dust. Washing with tiny bit of dishsoap and warm water will do the trick fine.
Next, you'll want to perform a light sanding job on all of the areas of the weapon to be painted. I find that 600 grit or 'fine' sand paper works excellent for this. This is the key to getting amazing results. Don't skimp here. Take your time and lightly sand every surface to be painted, then repeat step one. Wash with warm soapy water.
Towel your rifle or carbine off and then let it air dry completely. When handling the gun after this point, it is important not to touch the surface to be paint with your bare hands so as to not transfer oil from your skin to the surface of the firearm.
When completely dry, its almost time to paint. You'll want to think this part through pretty thoroughly. Are you going to use simple spray paint or something more exotic like DuraCoat or CeraKote? You decide. You can get excellent results with pretty much any paint. The difference lies in how long the finish lasts. Do your research and decide what you want to spend. I find that DuraCoat works well for me in that it lasts years of abuse and while not impervious to scratching, it looks good as it wears in. CeraKote, while it does tend to require being baked at certain temperatures for a certain time after being sprayed on, is supposed to last longer but also costs a little more. They also make non-bake, epoxy style stuff which I imagine is very similar to DuraCoat. The least expensive, and perhaps the most approachable to the beginner is using regular spray paint or high temperature paints. While this option may not last the longest, with proper prep work, really cool effects can be accomplished for very little money spent.
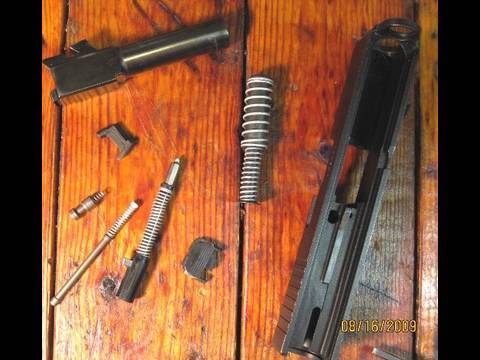
When your paint is picked out, you will want to disassemble what you need to in order to most-easily spray what you need to for the required paint job. In some cases it may be necessary for you to use masking tape to cover areas which you do not want painted when some parts cannot (or would be too big of a pain to take) apart.
Also plan out how you're going to spray the paint in advance. This includes planning the area you'll be painting in. It should be well ventilated and well lit. You don't want to think you're done painting only to find that you missed a spot. Bummer! In addition, think about how you are going to manipulate the parts after they have wet paint on them. Take a nicely painted part and touch the paint or drop it in the dirt... and that is a hard mistake to fix. I find that wire coat hangers work great for suspending large pieces and hot glue can work wonders for smaller pieces. Securely hot glue a wooden dowel to the inside of a hand-guard, for example, and now you have a hand with which to rotate the part as you DuraCoat it and you can stick the dowel into the ground or heavy box or hole drilled in a piece of lumber so the part can be free-standing and the paint goes unmolested.
Now you're ready to paint. Maintain cleanliness. Don't spray to close or too long in one spot. Always maintain a light sweeping motion. It takes a long time to learn this, but a lot of little light coats is INFINITELY better than heavy coats. Don't let the paint pool and run. Not only does it look terrible, you can't really fix it, and if you let it dry like that it wont be as strong a light coat.
Thin, light, coats. Lots of them. With fair amounts of dry-time in between.
Keep in mind, if you're using something like DuraCoat, it doesn't reach its maximum resilience for something like a week or two after it is dry to the touch. Resist the urge to run and gun with it or clamp optics down to a freshly painted rail. Give it time to cure without abusing it and enjoy the many years of service you get out of the finish.
Happy DuraCoating!
Disclaimer: This video is intended for entertainment and educational purposes only. All acts committed in this video are legal according to federal, state, and local laws and are conducted safely by trained individuals with permission of the land owner. No attempt should be made to recreate anything seen here without proper guidance and permission for your locality.
